
Last updated August 27, 2026
Free visual inspection and a written scope of work before any mitigation begins - photos, moisture readings, and drying logs go in your claim file
The scope we write is the scope we bill. Anything new gets shown to you, in writing, before we touch it.
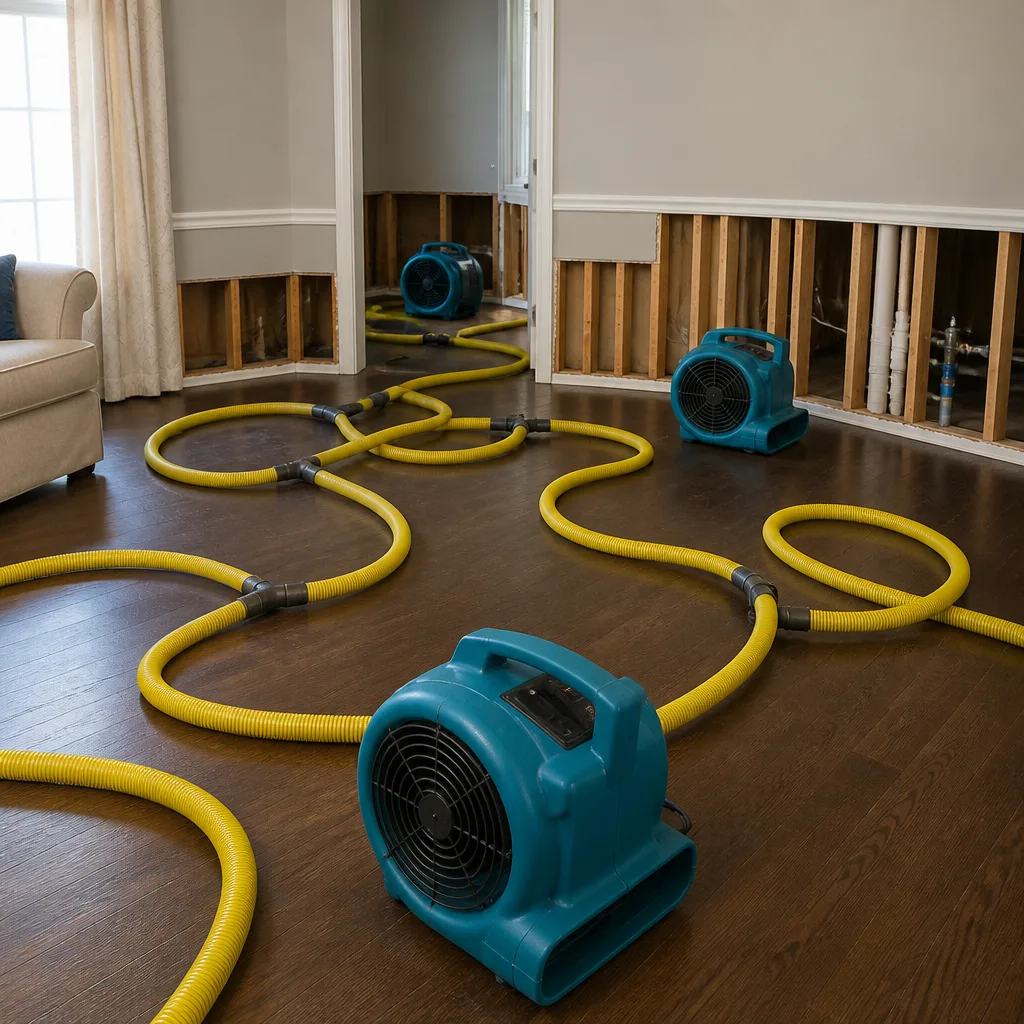





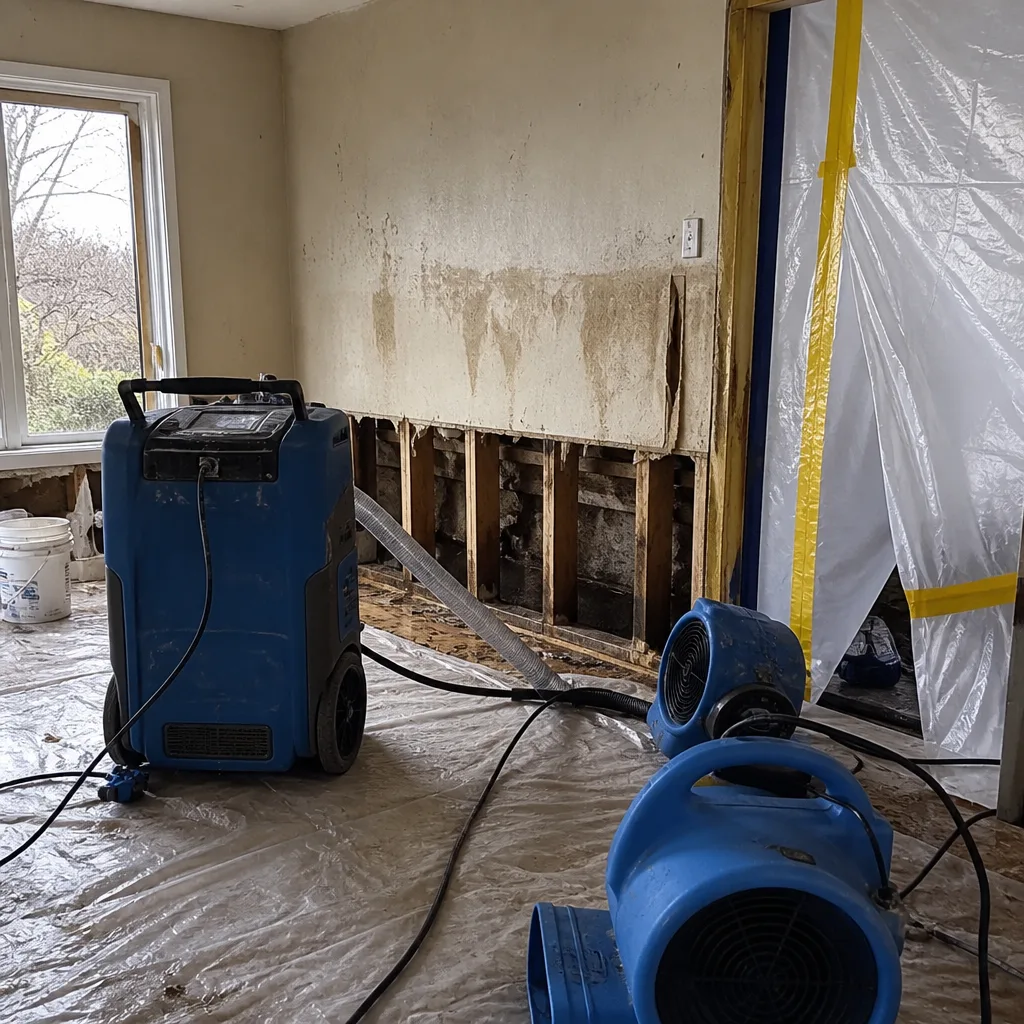 Before
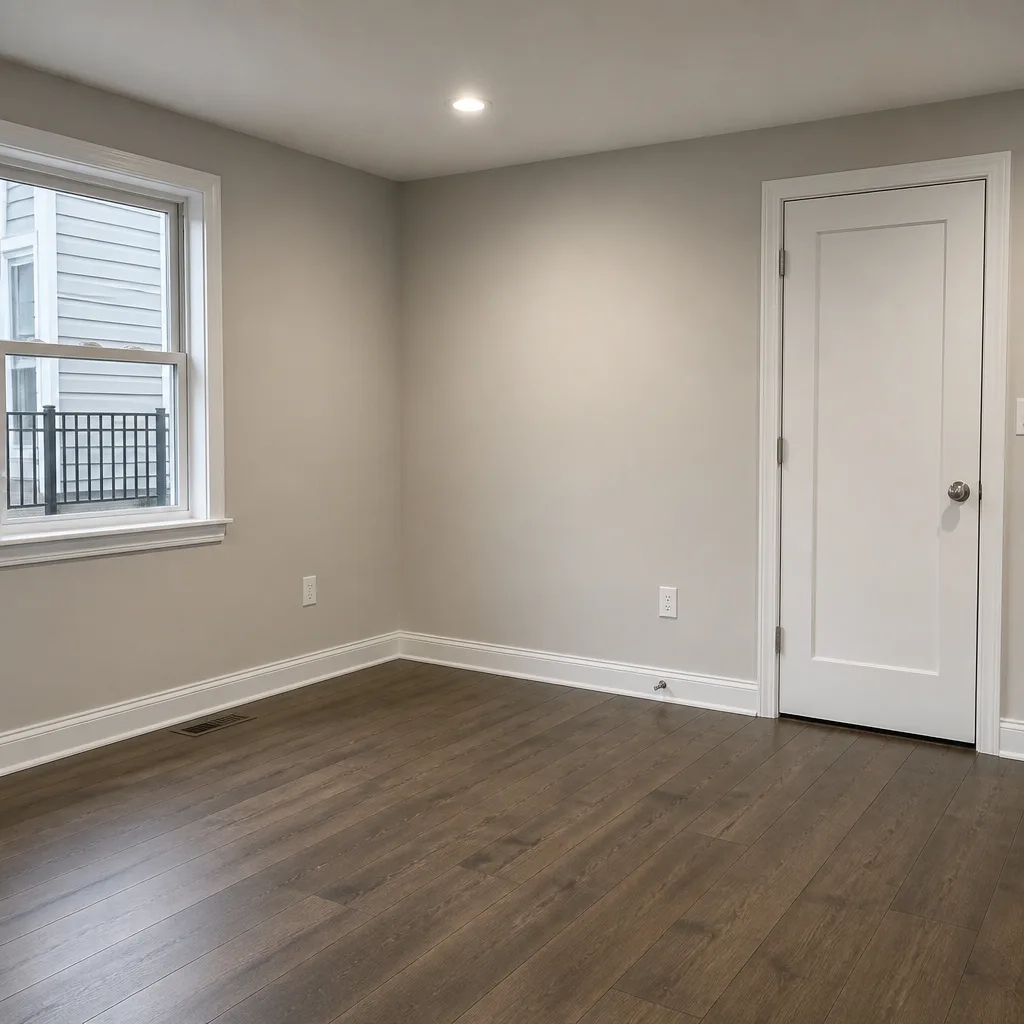 After
After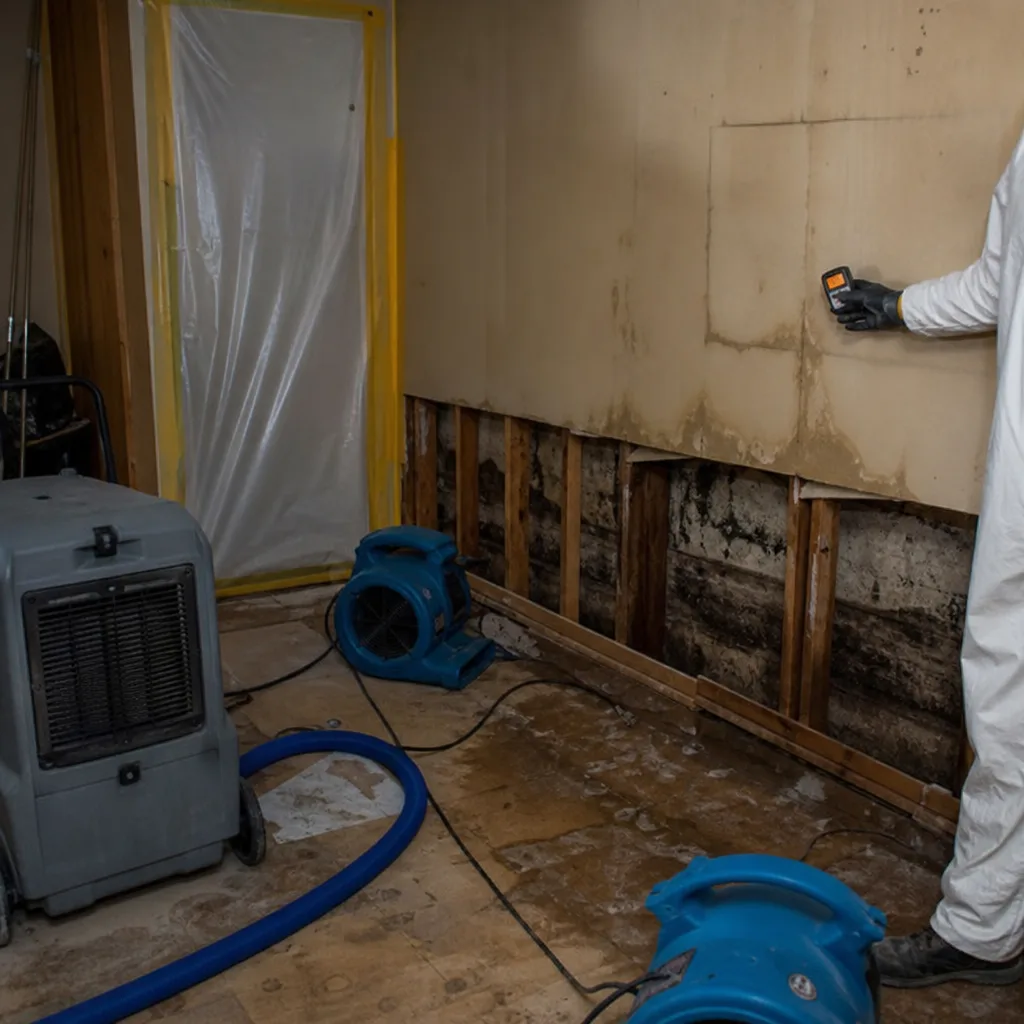 Before
 After
After Before
 After
AfterWater Damage Restoration Maintenance Checklist for Weehawken Homeowners
The three water damage calls Wade gets most often in Weehawken aren’t from storms. They’re from a supply line that was never swapped out, a sump pump that nobody tested since the last administration, and a bathroom exhaust fan venting into an attic instead of outside. All three are on this list. What follows is not a recycled home inspection brochure. It’s a maintenance checklist built from what Wade’s crew has actually pulled out of Weehawken basements, crawl spaces, and wall cavities since 2007, ranked by how often we see each failure on a our Water Damage Restoration services job site.
Quick Answer
Water damage prevention in Weehawken comes down to testing your sump pump monthly, replacing rubber supply lines and washing machine hoses every five years, and confirming every exhaust fan vents outside rather than into an attic or wall chase. The homes that stay dry are the ones where the homeowner spends twenty minutes a month on the checklist below, not the ones that wait for the first sign of a stain on the ceiling.
Table of Contents
- Supply Lines and Hoses: The Number One Failure We See
- Sump Pump Testing: Three Minutes That Save Thousands
- Exhaust Fans and Attic Venting: Weehawken’s Hidden Moisture Problem
- Grading, Downspouts, and Foundation Drainage on Narrow Lots
- Shared Walls and Party Lines: What Row House Owners Need to Know
- A Seasonal Checklist Mapped to Weehawken’s Real Weather
- Photo Documentation: The Insurance Claim You Haven’t Filed Yet
- Common Mistakes to Avoid
- When to Call a Professional
- Frequently Asked Questions
Supply Lines and Hoses: The Number One Failure We See
If you live in a Weehawken home built before 1980, you likely have plumbing that was installed with materials that have a known shelf life. The rubber supply lines running to your washing machine, dishwasher, and toilet have an expected lifespan of about five years. Not fifteen. Not “until they leak.” Five. We see the aftermath of ignoring that timeline more than any other single cause of water damage in Weehawken, and the damage is rarely contained to the laundry room.
A burst washing machine hose in a first-floor laundry can put an inch of water across a finished basement in under ten minutes. In a row house or multi-family conversion, that water doesn’t stay in your unit. It follows the floor joists into the neighbor’s ceiling, and now you’re dealing with two insurance policies and an adjuster who wants to know why the hose wasn’t replaced. The fix costs fifteen dollars. The failure costs thousands.
What to replace and when
- Washing machine supply hoses: Replace every five years, no exceptions. Upgrade to braided stainless steel. They’re rated for higher pressure and don’t degrade the way rubber does.
- Toilet supply lines: Same five-year window. If you see any cracking, discoloration, or a white chalky film at the connection points, replace them this weekend, not next month.
- Dishwasher supply line: Check annually. Look for kinks, bulges, or any sign of moisture at the connection. Replace at the first sign of wear.
- Water heater: Most Weehawken water heaters are in basements or utility closets, which means a slow leak can go unnoticed for weeks. Check the anode rod every two years and the pressure relief valve annually. If the tank is over ten years old, start budgeting for replacement.
- Ice maker line: These are the thinnest supply lines in the house and the most commonly forgotten. If you have a refrigerator with an ice maker, the supply line behind it is a ticking clock. Replace it every five years with a braided line.
Sump Pump Testing: Three Minutes That Save Thousands
Weehawken sits on ground that holds water. Between the Hudson River to the east and the Meadowlands basin to the west, the water table in this area is high, which means sump pumps aren’t optional equipment here. They’re the difference between a dry basement and a flooded one during any heavy rain. The problem is that most homeowners never test their sump pump until the day it matters, and by then, the damage is already done.
Testing a sump pump takes under three minutes and doesn’t require any tools. Here’s how to do it right.
- Open the pit: Lift the sump pit cover and look inside. If the pit is dry and the pump is sitting in no water, that’s the first warning sign. A healthy sump pit should have some standing water in it, because that means the groundwater is being collected properly.
- Listen to the float switch: Slowly pour a five-gallon bucket of water into the pit. The pump should kick on automatically when the float rises. A healthy pump sounds like a steady, even hum. A failing pump sounds like it’s grinding, buzzing, or struggling to push water out. If it sounds labored, it’s on borrowed time.
- Watch the discharge: Go outside and confirm water is actually coming out of the discharge pipe, well away from the foundation. If the pump is running but no water is coming out, the impeller is likely clogged or the check valve has failed.
- Test the backup: If you have a battery backup sump pump, unplug the primary pump and repeat the test. The backup should take over without a beat. If it doesn’t, the battery is dead and the pump is useless when you need it most.
What a failing sump pump sounds like
Wade’s crew has heard every sound a dying sump pump can make. The most common is a low, grinding hum that never quite gets to full speed, which usually means the impeller is jammed with debris or the motor bearings are shot. Another is a rapid cycling pattern, where the pump turns on and off every thirty seconds, which means the float switch is misadjusted or the pump is too small for the volume of water it’s handling. Either way, if your sump pump doesn’t sound like a smooth, consistent hum, it needs attention before the next heavy rain.
Exhaust Fans and Attic Venting: Weehawken’s Hidden Moisture Problem
Here’s a failure mode that almost never gets caught until the damage is done: bathroom exhaust fans that vent into the attic instead of outside. In Weehawken’s older homes, particularly the row houses and multi-families built in the mid-20th century, it’s astonishing how many bathroom fans terminate in the attic or in a wall cavity. The homeowner flips the switch, hears the fan running, and assumes the moisture is leaving the house. It isn’t. It’s being pumped into a space with no air movement, where it condenses on the underside of the roof sheathing, soaks into the insulation, and feeds mold growth that can go unnoticed for years.
The fix is straightforward: confirm the vent duct runs all the way to a roof cap or a soffit vent that actually exhausts outside. If you can’t see the termination point from the attic, go outside during a shower and look for steam leaving the house. No steam outside means the moisture is staying inside.
Attic and crawl space vapor barriers
Weehawken’s climate delivers hot, humid summers and cold, wet winters, which means the vapor barrier in your crawl space is doing real work year-round. In older homes, vapor barriers are often missing entirely, or they’ve been torn during plumbing and electrical work and never patched. A compromised vapor barrier allows ground moisture to evaporate directly into the floor joists, which leads to warped floors, musty odors, and eventually rot. Check your crawl space twice a year for standing water, condensation on the joists, or a vapor barrier that’s torn, sagging, or absent. If the air in your crawl space feels humid in July, the barrier isn’t doing its job.
Grading, Downspouts, and Foundation Drainage on Narrow Lots
Weehawken’s housing stock was built on narrow lots, many of them terraced into the hillside with foundations that sit close to the property line and close to the neighboring house. That geometry means one thing: water has nowhere to go. When a downspout discharges next to a foundation wall on a lot that’s only twenty feet wide, the water has essentially no room to disperse. It sits against the foundation, finds the first crack or cold joint, and works its way inside.
Here’s what to check twice a year, in the spring and again after leaf drop in the fall.
- Downspout extensions: Every downspout should discharge at least six feet from the foundation. On a narrow lot, that often means running the extension along the side of the house toward the street or the rear yard. If a downspout currently dumps water against the foundation, that’s the next water damage claim waiting to happen.
- Grading slope: The soil around the foundation should slope away from the house at a rate of about six inches over the first ten feet. In older Weehawken homes, decades of soil settling often leaves the grade sloping toward the house instead. Regrading is a weekend project that involves moving dirt, not rebuilding anything.
- Window wells: Basement window wells fill with leaves and debris in the fall, which turns them into small ponds during winter rains. Clean them out twice a year and make sure any window well covers are in place if your windows sit below grade.
- Foundation cracks: Walk the perimeter of your foundation in the spring and fall. Hairline cracks in painted surfaces are usually cosmetic, but any crack wider than an eighth of an inch, or any crack that’s grown since the last time you looked, is worth having checked. Water follows the path of least resistance, and a settling foundation offers it a path.
Shared Walls and Party Lines: What Row House Owners Need to Know
A significant portion of Weehawken’s housing stock is attached or semi-attached, which means your water damage prevention plan has to account for what’s happening on the other side of the wall. The neighbor’s failed supply line is your problem too. The neighbor’s neglected roof flashing is your ceiling stain. And in older row houses, shared plumbing walls mean that a leak in one unit often travels through the wall cavity before it shows up in the unit next door, by which point it’s been running for days or weeks.
There are a few practical steps that row house owners can take. First, know where your water shut-off valve is and where the main shut-off for the building is, if there is one. In a multi-family conversion, that main valve might be in a neighbor’s unit, which means a conversation with that neighbor is worth having before you need it. Second, pay attention to your neighbor’s exterior condition. If their roof has been patched repeatedly, or their downspouts have been discharging against your shared foundation wall, that’s a conversation to have now, not during the next storm. Third, document everything. Photos of your walls and ceilings, taken on a schedule, give you a baseline to compare against when a stain appears. Without that baseline, an insurance adjuster has no way to distinguish a new leak from a pre-existing condition, and that fight is one you don’t want to have.
A Seasonal Checklist Mapped to Weehawken’s Real Weather
Generic four-season checklists don’t work for Weehawken. Our weather doesn’t arrive in tidy quarterly segments. We get heavy spring rains, summer thunderstorms that drop two inches in an hour, a hurricane season that peaks in late summer and early fall, and winter freeze-thaw cycles that stress every pipe and foundation in the county. Here’s what to do and when to do it, based on the way the weather actually behaves here, with more guides & resources available for deeper reading.
Early spring (March to April)
- Test the sump pump for the first time since the fall. Do the full three-minute test described above.
- Walk the foundation perimeter and check for cracks that appeared or widened over the winter freeze-thaw cycle.
- Clean out the gutters and downspouts. Winter storms leave them packed with debris, and the first heavy spring rain will overwhelm a clogged gutter fast.
- Check the discharge of every downspout. Confirm water is moving at least six feet from the foundation.
- Inspect the roof for lifted shingles, damaged flashing, and any sign of water intrusion in the attic. A roof leak that started in February often doesn’t show up until the spring thaw.
Summer (June to August)
- Run a dehumidifier in the basement. Weehawken summers are humid, and a basement left unchecked will climb past 60 percent relative humidity, which is the threshold where mold starts to grow.
- Check the condensation line on your air conditioner. A clogged condensate line overflows into the floor below, and this is one of the most common summer water damage calls we get.
- Inspect the crawl space for moisture and check the vapor barrier for tears.
- Check all supply lines and hoses for signs of cracking or wear, especially if any of them are more than five years old.
Fall (September to November)
- Test the sump pump again. Late-season hurricanes and nor’easters are the most common cause of sudden flooding in Weehawken, and the pump needs to be at full capacity before storm season peaks.
- Clean the gutters and downspouts a second time. Leaf drop in October will clog them within weeks.
- Disconnect and drain garden hoses. The freeze-thaw cycle starts in November, and a connected hose full of water will crack a sillcock or burst a pipe when the first hard freeze hits.
- Check the water heater. Look for rust at the base, listen for popping sounds, and test the pressure relief valve.
Winter (December to February)
- Leave a trickle of water running from any faucet on an exterior wall during hard freezes. Moving water doesn’t freeze as readily as standing water.
- Keep the heat set to at least 55 degrees even if the house is empty. A frozen pipe in an unheated house is a disaster waiting to happen.
- Check the attic after any heavy snow or rain. Look for ice dams, condensation, or any sign that moisture is getting trapped against the roof sheathing.
- Test the sump pump once more. Weehawken winters bring rain as often as snow, and a saturated water table doesn’t care that it’s cold outside.
Photo Documentation: The Insurance Claim You Haven’t Filed Yet
The smartest thing a Weehawken homeowner can do before any water damage occurs is to take photos of everything that’s currently dry and clean. That sounds obvious, but almost nobody does it. Then a leak happens, the insurance adjuster arrives, and the conversation becomes about whether the water stain was pre-existing or new. Without photos, the homeowner loses that argument more often than not.
What to document:
- Every room, every wall, every ceiling: Take wide shots and close-ups. You’re building a baseline that proves the condition of the house on a specific date.
- The basement and crawl space: These are the spaces where water damage starts, and they’re also the spaces most likely to be photographed in poor lighting or not at all. Take clear photos of the floor, the walls, the joists, and the sump pit.
- Under every sink: Photograph the supply lines, the shut-off valves, and the cabinet floor. When a leak occurs, you’ll be able to prove the cabinet was dry before.
- Around every appliance: Washing machine, dishwasher, water heater, refrigerator. A photo of a clean laundry room floor is worth more than you think when a hose bursts.
- The exterior: Foundation walls, window wells, and the grading around the house. Document that the grade was correct and the foundation was crack-free before the storm.
Store these photos in a cloud folder or on an external drive. Not on your phone. Phones get lost, broken, or replaced, and the one time you need the photos is the one time you won’t be able to find them. Update the photos once a year. It takes an hour. It’s the cheapest insurance policy you’ll ever buy.
When water damage does occur, the same discipline applies. Before anything is moved, before any water is extracted, take photos of the standing water, the affected walls, the damaged contents, and the source of the leak if it’s visible. These photos go directly to your insurance adjuster, and they’re the difference between a claim that gets processed in days and one that drags on for weeks. Wade’s Restoration works directly with insurance adjusters and hands you a documented moisture log after every job, so the claim process doesn’t become a second disaster on top of the first.
Common Mistakes to Avoid
- Ignoring a slow leak because it’s not an emergency: That drip under the sink is an emergency. It’s just an emergency on a slower timeline. By the time a slow leak shows up as a stain on the ceiling below, it’s been running for weeks, and the damage behind the wall is worse than the stain suggests.
- Using a homeowner-grade shop vac for standing water: A shop vac will remove the water you can see. It won’t remove the water that’s soaked into the drywall, the subfloor, or the wall cavity, and that’s where the mold grows.
- Turning off the heat in a vacant Weehawken house during winter: If you’re away for the season, set the thermostat to 55, not off. A frozen pipe in an unheated house bursts, and the water runs until someone notices. We’ve seen the result. It’s not pretty.
- Assuming a sump pump that ran last year will run this year: Sump pumps fail without warning. The float sticks, the impeller clogs, the battery backup dies. If you haven’t tested it this month, you don’t know it works.
- Painting over a water stain: The stain comes back, but worse. Water stains mean moisture is still present or was present recently enough to leave a mark. Painting over it hides the symptom and gives the underlying moisture more time to do damage.
- Not knowing where the main water shut-off is: When a pipe bursts, the difference between a small cleanup and a full water damage restoration in Weehawken job is whether someone knows where the shut-off valve is and can reach it in the first minute.
- Trusting a bathroom fan without verifying it vents outside: The fan runs, the switch works, but the moisture is going into the attic. This is one of the most common causes of hidden mold in Weehawken homes, and it’s almost never caught until a mold remediation in Weehawken call becomes necessary.
When to Call a Professional
Some water damage you can handle with towels and a fan. The rest of it needs professional equipment and professional judgment, and the line between the two isn’t always obvious. Call a professional when water has touched drywall, insulation, or flooring, because those materials wick moisture beyond the visible water line and dry slowly enough for mold to get a foothold. Call when the source of the water is a sewage backup or any water that may have passed through a contaminated area. Call when the water has been standing for more than 24 hours, when there’s a musty odor that won’t go away, or when you see visible mold growth. And call when a water stain has appeared on a ceiling, because that means water has been pooling above it, and the ceiling is now a structural question, not a cosmetic one. Wade’s Restoration offers free estimates in Weehawken, and Wade answers his own phone. Call (201) 740-2235 and he’ll tell you straight whether it’s a cleanup you can handle or a restoration job that needs his crew.
Frequently Asked Questions
Test your sump pump monthly. It takes three minutes, and the test described above will catch most problems before they become failures. If you have a backup pump, test that at the same time.
By far, it’s failed supply lines. Washing machine hoses, toilet supply lines, and ice maker lines that were never replaced on schedule. These are the failures we see most often, and they’re also the easiest to prevent with a five-year replacement cycle.
In most cases, yes, if the damage was sudden and accidental. What insurance typically won’t cover is damage from a slow, ongoing leak that the homeowner should have caught through normal maintenance. This is why documentation matters. Photos of your home’s condition before the damage make the claim process far smoother. Wade’s Restoration works directly with insurance adjusters and provides photo documentation and moisture logs to support every claim.
Turn on the fan, run a shower for a few minutes, then go outside and look for steam leaving the house. If you don’t see steam outside, the fan is venting into the attic, the wall cavity, or a dead space. This needs correcting before mold takes hold.
Take photos of what you found, stop the source of the water if you can, and call a professional before you disturb the area. Hidden water damage often means mold growth, and disturbing it without proper containment can spread spores through the house. A professional assessment is the right first step.
Wade answers his own phone, 24 hours a day, and can have extraction equipment running inside the hour in most cases. Call (201) 740-2235 and you’ll speak to Wade himself, not an answering service. If it’s after midnight and your basement is filling up, the call is answered. No trip charge inside the county, and a free second opinion on any written estimate.
The Bottom Line
Water damage in Weehawken follows predictable patterns. Old supply lines fail on a schedule. Sump pumps die in silence. Exhaust fans vent into attics. And the homeowners who stay dry are the ones who spend twenty minutes a month checking the things that are most likely to fail. The checklist above covers the failure modes we see most often, mapped to Weehawken’s actual weather and housing stock, as detailed in The Complete Guide to Damage Restoration in Weehawken. If you find something on the list that needs attention, or if water has already made its way inside, call Wade Ferris at (201) 740-2235. He’s been serving Weehawken since 2007, he’ll give you a straight answer, and he stands behind every job with the 90-Day Done Right Promise in writing.
Written by Wade Ferris, Owner at Wade’s Restoration, serving Weehawken since 2007.