
Last updated August 27, 2026
Free visual inspection and a written scope of work before any mitigation begins - photos, moisture readings, and drying logs go in your claim file
The scope we write is the scope we bill. Anything new gets shown to you, in writing, before we touch it.



 Before
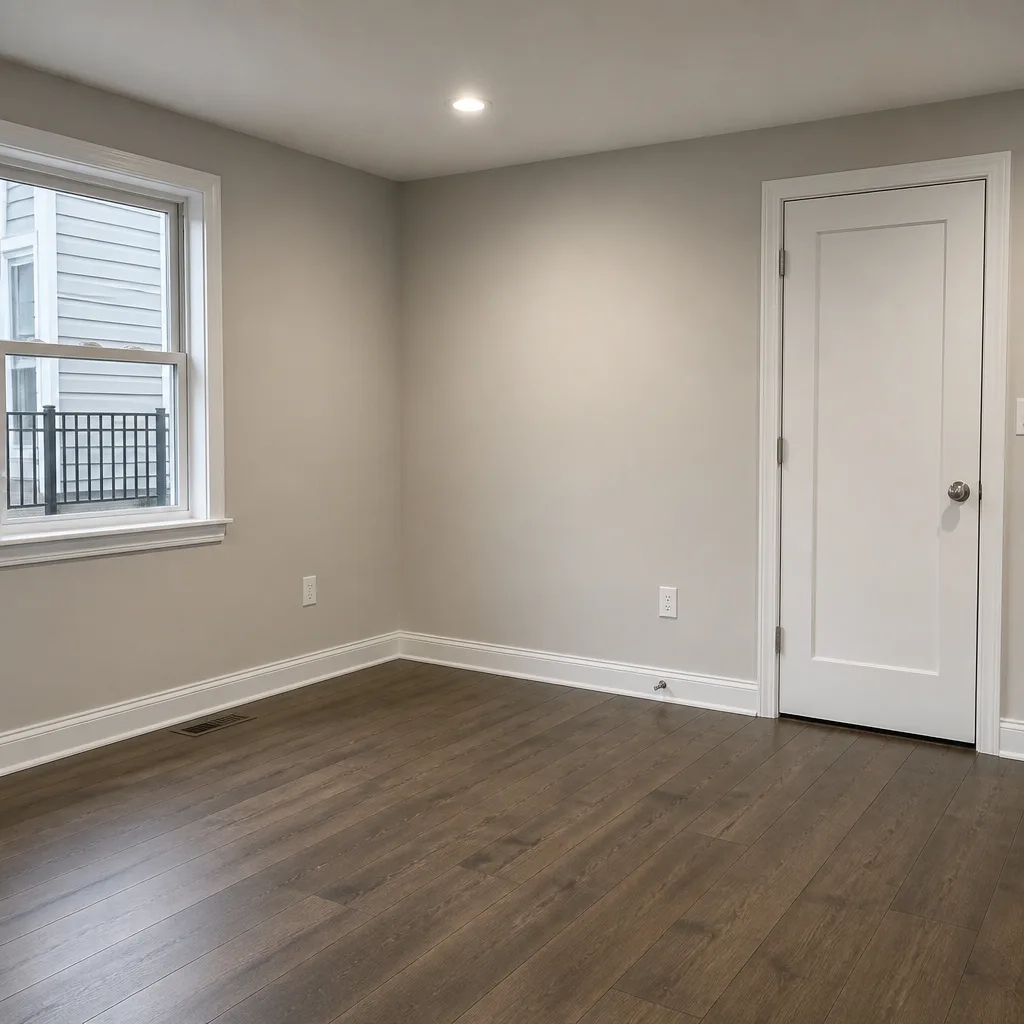 After
After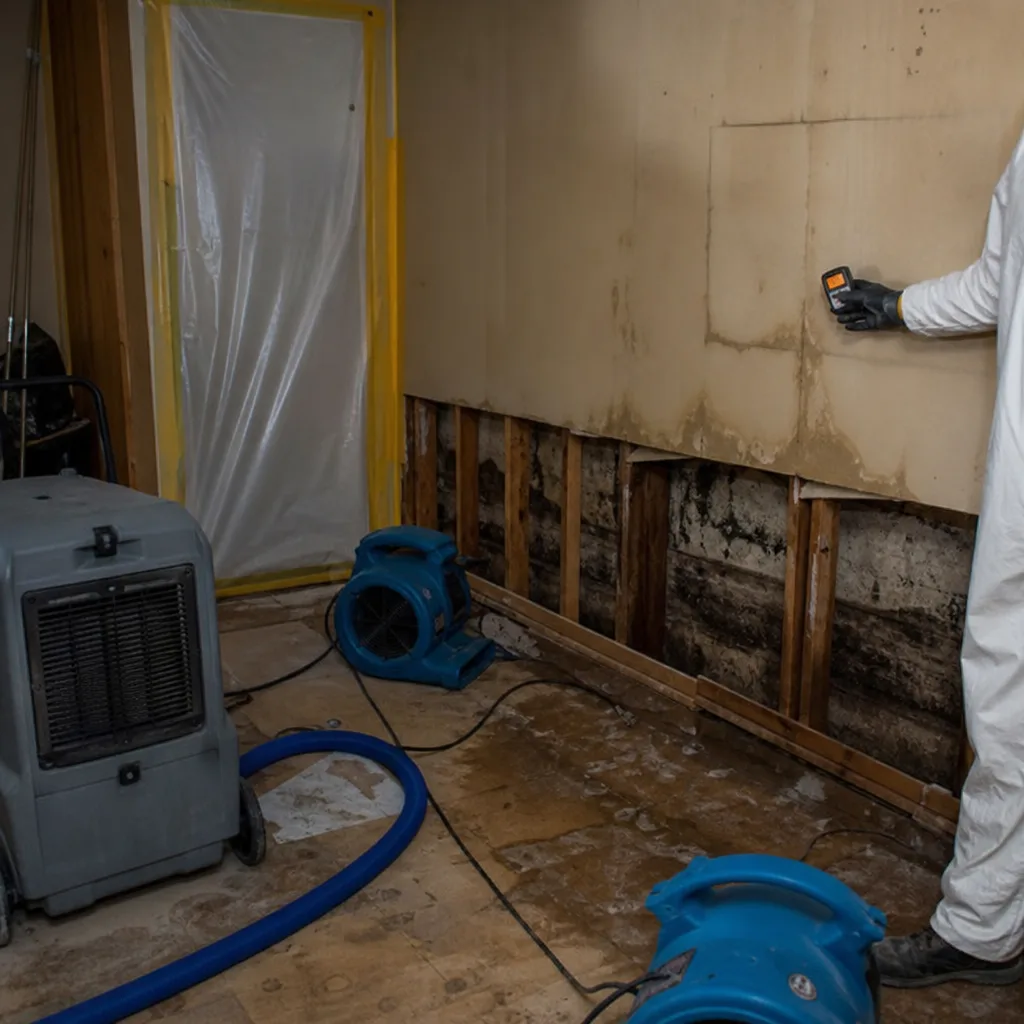 Before
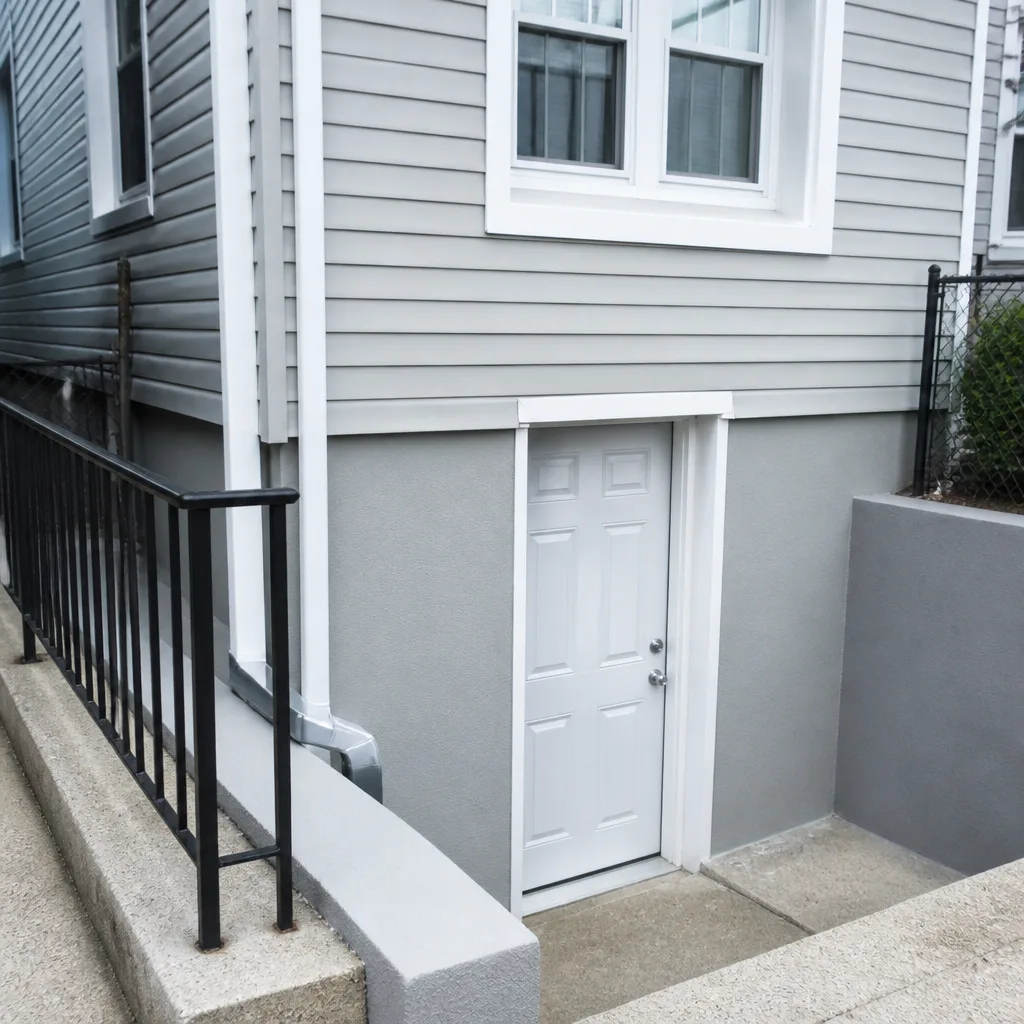 After
After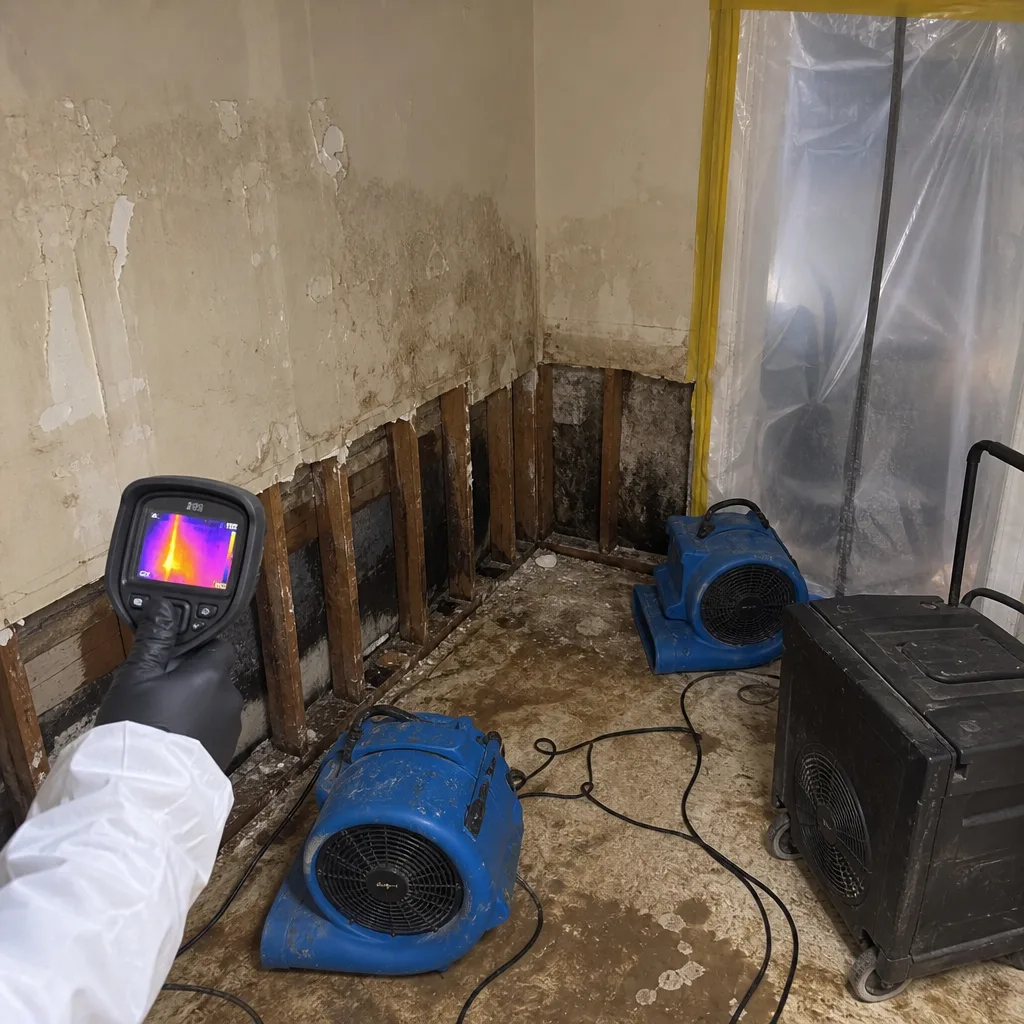 Before
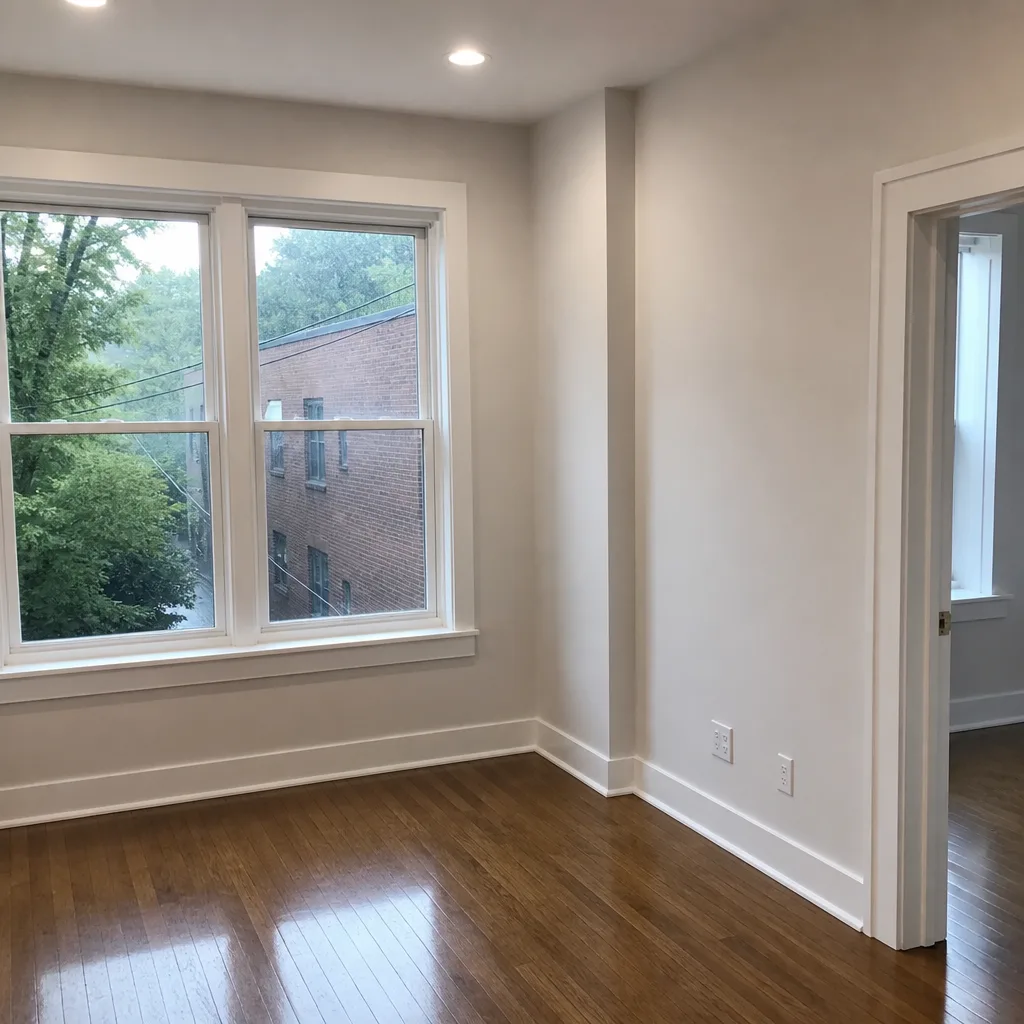 After
AfterDIY vs Professional Damage Restoration: The Weehawken Homeowner’s Decision Guide
Here’s a number most restoration companies won’t tell you: roughly 7 out of 10 water damage calls we get in Weehawken could have been handled with a mop, a fan, and an honest look at where the water actually went. The other 3? Those are the ones where a homeowner spent two days drying the surface while moisture quietly destroyed the subfloor, the drywall, and the base of every wall in the room. This guide exists to help you tell the difference before you spend money you didn’t need to spend, or skip the call that would have saved your floors. We’re going to draw the line between what’s safe to handle yourself and what needs professional equipment, then show you how insurance treats each path differently. By the end, you’ll know exactly which category you’re in.
Quick Answer
Most homeowners in Weehawken should DIY only small, clean-water spills caught within 24 hours that cover an area you can reach with a fan and a wet vac, roughly anything under 30 square feet. Anything involving sewage, mold you can see, water that has soaked into drywall or flooring for more than a day, or areas you can’t physically reach needs professional equipment and a written moisture log for insurance purposes. When in doubt, call a pro for a free assessment before you touch anything, because the wrong first move can triple the repair bill.
Table of Contents
- The Three Variables That Decide DIY vs Pro
- What Happens Inside a Wall Cavity After 48 Hours
- The DIY Steps That Are Actually Safe and Helpful
- The DIY Steps That Accidentally Destroy Your Insurance Claim
- How Insurance Carriers Treat DIY Mitigation vs Professional Mitigation
- When Calling a Pro Is About Liability Protection, Not Damage Severity
- Weehawken-Specific Factors Most Guides Ignore
- What a Professional Restoration Actually Involves in 2026
The Three Variables That Decide DIY vs Pro
Every water damage situation, regardless of whether it’s in Weehawken or anywhere else, comes down to three things: what type of water you’re dealing with, how much area is affected, and how long it’s been sitting. We’ve built our entire assessment process around these three variables because they predict the outcome more reliably than anything else. If you only remember one section from this guide, it should be this one.
Variable 1: Water type. Clean water from a supply line or a sink overflow is a different animal than gray water from a washing machine or dishwasher, and both are dramatically different from black water, which includes sewage backups and flood water from outside. Clean water that’s caught quickly is the only category we’re comfortable telling you to handle alone. Gray water carries soaps, food particles, and bacteria that multiply quickly in porous materials. Black water? That’s a full water damage restoration in Weehawken situation, no exceptions. You’re not just drying a floor; you’re dealing with a biohazard that can make your family sick.
Variable 2: Affected area. The old rule of thumb in this trade is that anything under 30 square feet with clean water and quick response time is DIY territory. That’s roughly a half-bath, a small closet, or a section of kitchen floor. The moment the water crosses into multiple rooms, runs under cabinets, or touches walls, you’re past what a homeowner’s equipment can handle. Weehawken homes, with their mix of 1920s rowhouses and 1980s condo conversions, have some of the tightest floor plans in Hudson County. Water in a Weehawken basement often means water against sheetrock that was installed in the 1970s and has been patched five times since. That material soaks up moisture like a sponge and holds it like a bank vault.
Variable 3: Elapsed time. The first 24 hours are the golden window. After 24 hours of water sitting in drywall, insulation, or subfloor, microbial growth begins. After 48 hours, you’re not drying the material anymore; you’re deciding whether it gets replaced or salvaged. After 72 hours, you’re almost certainly looking at replacement. The clock is the single biggest factor in whether a $300 drying job becomes a $4,000 rebuild. In our experience, Weehawken homeowners often discover water damage late because so many units sit unoccupied during the workday, and a slow leak behind a washing machine can run for a week before anyone notices the baseboard starting to warp.
What Happens Inside a Wall Cavity After 48 Hours
The honest answer is: it stops being a drying problem and starts being a demolition and rebuild problem. Here’s what actually happens step by step, because most of it is invisible from the outside, and almost none of it can be fixed with the fan-and-dehumidifier approach that feels like it’s working.
- Hours 24-48: Water wicks sideways through drywall and upward through the paper facing. The gypsum core, which is just pressed powder held together by paper, begins to soften. Moisture levels inside the wall cavity, the space between the drywall and the exterior sheathing, can hit 100% humidity and stay there. This is the point where the surface of your drywall can feel dry to the touch while the back side is saturated.
- Hours 48-72: Mold spores, which are dormant in every home, activate and begin colonizing the paper facing and the back side of the drywall. You may not see this mold from inside the room. It grows in the dark, warm, humid cavity. But a musty odor emerges, and it does not go away with air freshener. A homeowner running a household dehumidifier in the center of the room is doing almost nothing for the air trapped inside that wall.
- Hours 72-120: The bottom plate of the wall, the horizontal 2×4 that sits on the subfloor, begins to swell and then rot. The drywall softens to the point where you can push a thumb through it. Insulation inside exterior walls loses its R-value permanently and becomes a damp mat that holds water against the sheathing. In a Weehawken rowhouse, that means the shared wall with your neighbor can now be a moisture bridge that affects their unit too.
- Days 5-10: The subfloor, if it’s plywood or OSB, begins to delaminate. The layers separate. Nails begin to pop and squeak as the wood expands. If the water reached the joists, they start to darken and carry that distinct musty smell. At this point, we’re no longer doing water damage restoration. We’re doing reconstruction. There’s a hard line between those two services, and crossing it usually doubles or triples the bill.
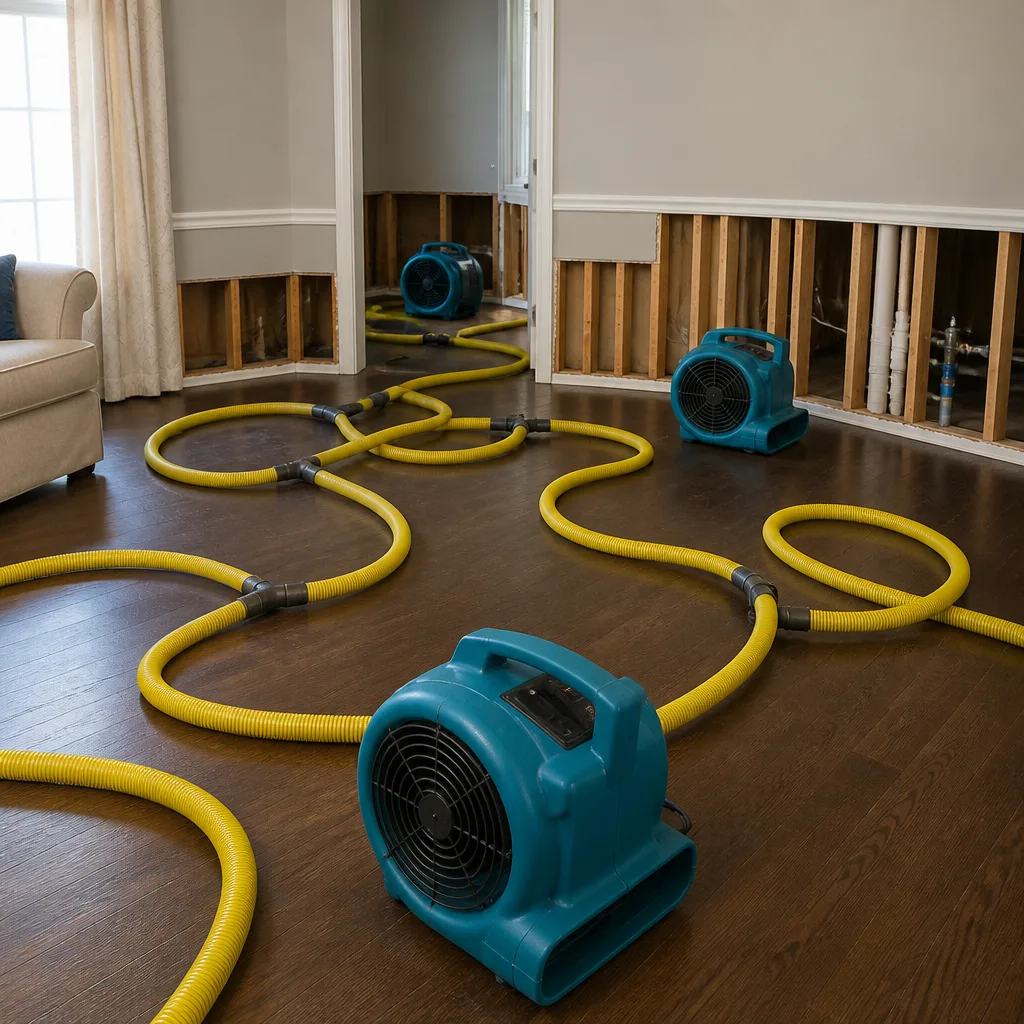
What a professional brings to this situation is not just bigger fans. The equipment itself is different: high-volume air movers that push 3,000 cubic feet per minute, commercial dehumidifiers from Dri-Eaz or Phoenix that pull 100+ pints of water from the air daily, and injection drying systems like Injectidry that force air directly into wall cavities through small holes drilled at the base. A homeowner with a box fan and a $200 dehumidifier from a home improvement store is running a 1/10 scale operation against a 48-hour clock. That’s the mechanical reality. The second reality is measurement: we take moisture readings every single day and hand the homeowner the full log at the end of the job. That log is your proof to the insurance carrier that the drying was done correctly. Without it, you have a contractor’s word and a vague sense that things “feel dry.”
The DIY Steps That Are Actually Safe and Helpful
We’re not here to tell you every water problem needs a truck with our name on it. That’s not honest, and Wade’s Restoration has been in business too long to pretend otherwise. There are things you should absolutely do yourself, starting immediately, that make a real difference whether or not you end up calling us or any other pro. These steps are safe, cheap, and they work.
- Stop the water at the source. Shut off the supply valve for the appliance or fixture, or hit the main shutoff if you can’t find a local valve. In older Weehawken homes, the main shutoff is often in a basement corner or behind an access panel near the street-side wall. Know where it is before you need it. A few minutes of hunting while water pours is a few minutes of damage you cannot undo.
- Photograph everything before you move anything. Insurance adjusters need to see what the damage looked like before you started. Take wide shots and close-ups, from multiple angles, including baseboards, floor transitions, and anything stored on the floor. Your phone’s timestamp is your friend. This documentation is free and it is worth real money on every claim.
- Remove standing water that you can reach safely. A wet/dry shop vac will handle small puddles on hard flooring. Towels and a mop work for minor spills. Stay off saturated carpet with electrical appliances, and do not run extension cords through standing water. In fact, if the water is deep enough to reach any electrical outlet, call a pro before you touch anything. Electricity and water make for a call worse than any restoration invoice.
- Open windows and doors if the outside air is dry. Weehawken summers are humid, so natural ventilation only helps in the cooler, drier months. In July and August, you’re better off running your home’s air conditioning than opening windows. The AC system, even just the fan, strips moisture from the air as it runs.
- Move furniture and belongings out of the wet zone. Even if the floor is ruined, you can save the couch, the rug, the box of photos, the important papers. In a Weehawken apartment, there’s usually nowhere to put things, but a neighbor’s hall or a landing is better than three more days of wicking moisture up into a sofa.
Here’s the honest limit of DIY: everything above is mitigation. It’s slowing the damage and documenting the scene. It is not restoration. Restoration is returning the materials and structure of your home to pre-loss condition, and that’s a different skill set with different equipment and different accountability. Knowing where mitigation ends and restoration begins is the single most useful thing this guide can teach you.
The DIY Steps That Accidentally Destroy Your Insurance Claim
This section exists because we have seen too many Weehawken homeowners take reasonable, well-intentioned actions that ended up costing them thousands in denied or reduced claims. The problem is never the effort. The problem is that insurance carriers write policies with specific language about mitigation responsibilities, and when a homeowner’s actions look like they made the damage worse, the carrier uses that against you. Here are the specific moves that backfire.
Pulling up carpet and padding before photographing. Carpet that’s saturated often can be saved if it’s dried quickly and professionally. But if you rip it up and pile it on the curb before documenting the condition and the extent of the wetting, the adjuster has no evidence of what actually got wet. The claim shrinks. Same goes for cutting out drywall: save the cut pieces, photograph them, and keep them for the adjuster’s inspection.
Throwing away your own materials. You’d be surprised how often we walk into a Weehawken home and find the homeowner has already thrown away the damaged baseboards, the padding, the water-logged boxes. Here’s the problem: the insurance company needs to see that material to verify the claim. No evidence, no payout. Keep everything until the adjuster has seen it and given you written permission to dispose of it.
Using a household dehumidifier and calling it mitigation. There’s nothing wrong with running the dehumidifier you own. It helps on the margins. But some homeowners reason that if they run their home dehumidifier for two weeks, the space will eventually dry out. It won’t, not inside walls and under flooring. The delay is the real cost: by the time we’re called, the damage has progressed and the insurance carrier may argue that the homeowner’s “mitigation” was inadequate and that the resulting mold growth was preventable. That’s a coverage fight you don’t want.
Repairing before the claim is settled. We fully understand the instinct to patch the drywall and paint over the stain so your home looks normal again. But if you repair before the adjuster visits, you’ve just removed the evidence of the loss. Your claim may be denied outright because there’s nothing to inspect. Document first, get the adjuster out, then repair.
Hiring the cheapest contractor with no credentials. Insurance carriers increasingly require that mitigation be performed by a certified firm, meaning IICRC certification is the baseline. If you hire an unlicensed handyman to “save money,” and the drying fails, the carrier may deny the subsequent mold claim on the grounds that the initial mitigation was performed below the industry standard of care. The cheapest option becomes the most expensive one by a wide margin.
How Insurance Carriers Treat DIY Mitigation vs Professional Mitigation
Let’s talk about how your insurance carrier actually views the DIY question, because the policy language is not neutral on this point, and almost no one reads it until after something’s gone wrong. The standard homeowners policy in New Jersey contains a duty to mitigate damages. What that means in plain English: you are required to take reasonable steps to prevent further damage after a loss. Most policies specifically state that failing to mitigate can reduce or eliminate coverage for the resulting damage.
Now here’s where it gets interesting. The word “reasonable” is doing a lot of work. A homeowner who runs a fan on a small puddle has taken reasonable mitigation steps. A homeowner who lets a flooded basement sit for four days while calling around for the cheapest quote has not. The carrier’s position, consistently, is that professional mitigation is the standard of care for anything beyond a minor spill, and that a homeowner who elects to DIY a significant water loss is assuming the risk of inadequate drying. If mold develops as a result, the carrier will point to the absence of professional equipment and documentation as the cause.
Documentation is the leverage point. When we perform mitigation in Weehawken, we create a paper trail: initial moisture readings, equipment placement logs, daily readings, final moisture content confirmation, and a dry standard letter at the end. That file is what the adjuster uses to close the claim. A homeowner with a shop vac and a fan has none of that. The claim itself may be fine for the original water damage, but if the homeowner’s DIY drying fails and secondary damage appears, that secondary damage often falls on the homeowner. In our experience, the savings from DIY mitigation evaporate quickly when a $6,000 mold remediation bill is the result of a $400 drying job that never happened.
One more point that surprises a lot of homeowners in Weehawken: your carrier is not obligated to accept your word that things are dry. They require evidence. If you tell an adjuster “I ran a fan for a week and it felt dry,” the adjuster will note that the mitigation was unverified and may schedule an independent inspection. If that inspection finds elevated moisture, the door opens for the carrier to claim the drying was inadequate and the resulting damage is not covered. Compare that to calling us: we deal with the adjuster directly, we hand you a documented moisture log, and the carrier closes the file with confidence. That’s not a sales pitch. That’s the system working the way it’s designed. For any water damage restoration in Weehawken, the documentation is as valuable as the drying itself.
When Calling a Pro Is About Liability Protection, Not Damage Severity
Here’s a conversation we have with homeowners more often than you’d think. It goes something like this: “The damage isn’t that bad. I just want someone to make sure I’m not missing anything.” That homeowner isn’t calling about water. They’re calling about liability. They’re worried that if they handle it themselves and something goes wrong later, they’ll be stuck with the problem and no recourse. That worry is legitimate, and we respect anyone who voices it honestly.
There are situations where the damage itself is genuinely minor but the liability exposure is real. Here are a few we see regularly in Weehawken:
- Shared-wall water damage in a rowhouse or condo. If water from your unit migrates into the neighbor’s wall and causes damage, the neighbor’s insurance carrier can pursue subrogation against you. If you handled the mitigation yourself and it’s later determined that your DIY drying was inadequate, you’ve just created a liability problem that a professional drying certificate would have prevented. This is the most common scenario in Weehawken’s attached housing stock.
- Water damage in a rental unit you own. Your tenant documents everything. If you DIY the mitigation and mold appears a month later, the tenant has a habitability claim. A professional restoration with a documented moisture log is your liability shield.
- Any water event involving sewage or gray water. If you clean up a sewage backup yourself and someone in the household gets sick, you have no professional third party to establish that the cleanup was performed to industry standard. Worse, the contamination risk is real. Sewage contains pathogens that demand more than bleach and elbow grease. The same applies to any mold remediation in Weehawken where visible mold is present: disturbing mold colonies in a DIY attempt can release spores throughout the home and create a health problem where none existed.
- Post-fire smoke and soot damage. Fire residue is not dirt. It’s a chemical cocktail that requires specific cleaning agents and, often, deodorization equipment that no homeowner owns. More importantly, the insurance claim for fire damage requires a professional inventory of what’s salvageable and what’s not. DIY cleaning of smoke damage often sets the soot permanently into surfaces, turning a cleanable wall into a repaint. If you’ve had a fire, look at our fire and smoke damage restoration in Weehawken page before you touch anything with a sponge.
The conversation about liability doesn’t have to feel like a pitch. When you call a contractor, say this: “I want a professional evaluation because I need the paperwork to protect myself down the road.” A good company will tell you plainly whether the job is worth their time or whether you’re fine to handle it. That’s exactly how we operate. Ask the contractor what documentation you’ll receive. If the answer is vague, go elsewhere. If the answer includes daily moisture readings and a written final report, you’re dealing with a professional.
Weehawken-Specific Factors Most Guides Ignore
Generic restoration guides are written for a national audience, and they miss the things that make Weehawken different from a Dallas suburb or a Chicago condo tower. Here’s what actually matters in this town, and it’s the reason we write guides like this one specifically for the people who live here.
Attached housing changes everything. Most of Weehawken’s housing stock is attached, rowhouses and condos and multi-family conversions that share walls, floors, and ceilings with neighbors. Water in your wall is often water in your neighbor’s wall. The drying strategy has to account for three-dimensional moisture migration, not just the room where the water landed. We regularly set up drying equipment in Weehawken homes where the affected wall is a shared party wall, and the neighbor’s unit is also being monitored. This is not a scenario a homeowner can handle with a fan.
The housing stock is old, and old construction holds water differently. A Weehawken rowhouse built in 1910 is framed with old-growth lumber that’s dense and slow to dry. Plaster walls, still common in pre-war units, wick water differently than modern drywall. Asbestos, present in some pre-1980 materials, adds a layer of complexity to any demolition or drying plan. A homeowner cutting into an old wall to look for moisture might be cutting into material that should not be disturbed without testing. That’s a real Weehawken consideration.
Elevation and storm water are ongoing issues. A portion of Weehawken sits near the Hudson River, and properties at lower elevations face storm water intrusion during heavy rain events, especially when the town’s combined sewer system backs up during sustained downpours. This is black water, not clean water. Even if the water looks clear, and even if it recedes quickly, it’s been in contact with the sewer system. DIY cleanup is not appropriate. Sump pump failures in basements are also more common here than in towns with newer infrastructure.
The humidity is relentless in summer. Weehawken sits in a humid continental climate zone with summer dew points that regularly exceed 70 degrees. What that means in practice: a fan blowing humid outdoor air into a flooded room is worse than useless. It’s actively preventing drying. Professional drying in this climate requires sealed environments and commercial dehumidifiers working against the outside humidity. It is genuinely different from drying homes in, say, Denver or Phoenix.
Street parking and access matter more than you’d think. If you’ve ever tried to get a box truck close to a Weehawken rowhouse on a narrow one-way street, you know the logistics are not trivial. Professional restoration companies that work here regularly understand the access challenges, the need for compact equipment staging, and the realities of working in attached structures where noise and disruption spill over to neighbors. That’s not a DIY concern, but it’s part of why Weehawken jobs are best handled by crews who know the town.
What a Professional Restoration Actually Involves in 2026
If you’ve never hired a restoration company, you probably picture hoses and fans and some guys in white suits. That’s part of it. But what you’re actually paying for in 2026 is more specific, and knowing it will help you evaluate any contractor, including us.
1. Assessment with instruments, not eyeballs. The first thing a professional crew does is map the extent of the moisture with instruments: penetrating and non-penetrating moisture meters, infrared cameras that show temperature differentials indicative of trapped water, and thermo-hygrometers that measure the humidity of the air and the moisture content of building materials. These readings create a baseline. Without a baseline, you cannot prove you dried anything. We take readings every single day and hand you the log at the end. Almost nobody in this trade does that. It’s the single most protective document you can have for an insurance claim.
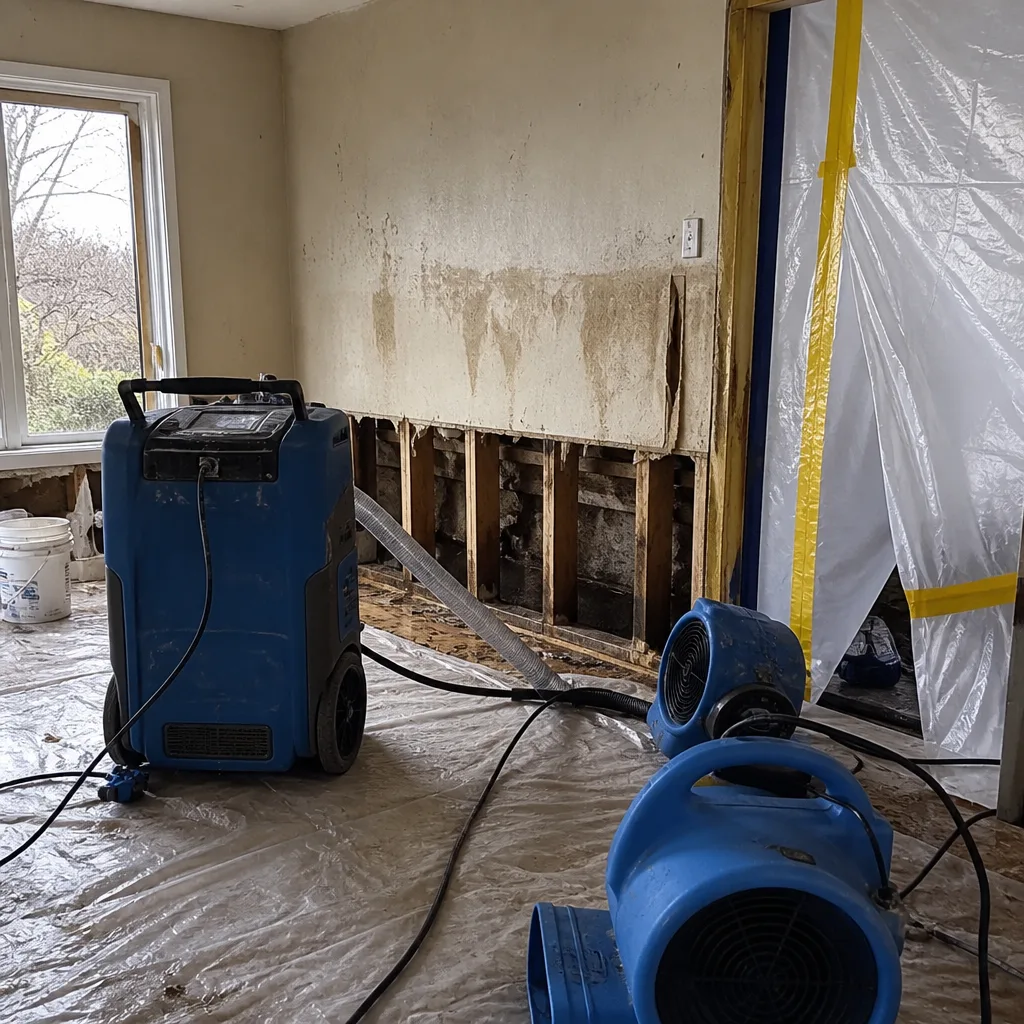
2. Containment and air scrubbing. For mold work and sewage work, the affected area gets sealed with plastic sheeting and placed under negative air pressure. An air scrubber with a HEPA filter runs continuously to capture spores and particles. This is not theater. It’s what prevents a bathroom mold problem from becoming a whole-house mold problem.
3. Water extraction. For standing water, a truck-mounted or portable extractor pulls the bulk water out fast. In carpeted rooms, a weighted extractor forces water out of the carpet and pad. In hard-surface rooms, squeegees and vacuums get the visible water. Speed here is the difference between salvageable carpet and a dumpster run.
4. Drying with the right equipment for the material. Air movers create high-velocity airflow across all wet surfaces. Commercial dehumidifiers, the kind made by Dri-Eaz, Phoenix, XPOWER, and B-Air, pull gallons of water from the air daily. Injectidry systems push dry air directly into wall cavities and under cabinets, which is the only way to dry inside a wall without tearing out the drywall. This equipment is not rented at the hardware store, and the setup matters as much as the gear. We use IICRC protocols for every drying job, which means the equipment is sized and placed according to the size and type of the affected materials.
5. Daily monitoring and documentation. This is the step that separates pros from everyone else. We return daily to log moisture readings, adjust equipment, and confirm the drying is progressing on schedule. At the end, you get the full log. If the insurance adjuster asks how you know the walls are dry, you have an answer in writing.
Our credentials back up the work: IICRC certification, RIA affiliation, and IFA recognition. Those acronyms mean we follow the industry’s written standards for water damage restoration, mold remediation, and fire damage. They also mean our work is defensible to insurance carriers and to anyone who buys your home later and discovers a restoration was performed. The Wade’s Restoration home page has the full picture if you want to dig deeper into who we are and how we work.
Common Mistakes to Avoid
- Believing a room that “feels dry” is dry. Drywall can feel bone-dry on the surface while holding 35% moisture inside the cavity. Without a moisture meter, you cannot know. Weehawken’s humid summers make surface dryness even more misleading.
- Running fans without ventilation. Blowing air around a sealed, wet room just moves the moisture. It doesn’t remove it. You need dehumidification or exhaust ventilation to move the water out of the space.
- Using bleach on mold. Bleach does not kill mold on porous surfaces. It bleaches the color out of the visible growth while leaving the roots alive inside the material. In Weehawken’s older homes with porous plaster, bleach is a cosmetic solution that makes the mold harder to see and easier to ignore until it spreads.
- Waiting to see how bad it gets. Water damage does not plateau. It progresses. Every day of delay expands the damage zone and shrinks the set of materials that can be salvaged. The worst call we get is the one that starts “This happened about two weeks ago and I’ve been trying to dry it out myself.”
- Throwing out damaged materials before the adjuster sees them. The insurance company needs to inspect the evidence. If you toss the saturated carpet pad and cut-up drywall before the adjuster visits, you have removed the physical proof of your loss. The claim shrinks accordingly.
- Hiring a contractor with no written scope. Before anyone does any work on your home, you should have a written scope of work with a clear price. A contractor who won’t write it down won’t stand behind it later. This matters double in Weehawken, where the housing stock is old enough that surprises behind walls are common and change orders can balloon if the original scope was vague.
- Skipping the moisture log. If your contractor doesn’t take daily moisture readings and give you the data, you are paying for a guy with fans and no accountability. Insist on the log. It’s the difference between verified drying and a claim that’s easy for the carrier to second-guess.
When to Call a Professional
Call a professional when the water category is gray or black, when the affected area is larger than 30 square feet, when the water has been sitting for more than 24 hours, when any material beyond the surface floor covering is wet, or when you can see, smell, or suspect mold. Also call when the damage is in a shared wall, when insurance is involved and you need documentation, or when anyone in the home has respiratory conditions, allergies, or a compromised immune system. If you’re in Weehawken and you’re not sure, the call is free: Wade’s Restoration offers no-trip-charge assessments in the county and free second opinions on any written estimate. Call (201) 740-2235 and Wade will tell you honestly whether you need him or just a mop.
Frequently Asked Questions
Yes, for small clean-water spills under about 30 square feet that you catch within 24 hours and that haven’t touched walls, subfloor, or insulation. For anything larger, older, or dirtier, household equipment cannot dry inside wall cavities or under flooring, and the attempt usually delays professional drying until the damage has expanded beyond salvage.
For a typical Weehawken condo or rowhouse with a burst supply line or a failed water heater, professional drying and mitigation usually runs between $1,800 and $5,000 depending on the square footage affected and how many rooms are involved. Sewage cleanup runs higher because of the containment and disposal requirements, and any reconstruction like drywall replacement or flooring is billed separately. Insurance often covers most of the mitigation, less your deductible. Exact numbers require an on-site assessment, which is free, and the estimate comes in writing.
Your policy covers sudden and accidental water damage regardless of who performs the mitigation, but the carrier requires that you take reasonable steps to prevent further damage. If DIY drying fails and mold or rot develops, the carrier may deny the secondary damage on the grounds of inadequate mitigation. A documented professional drying with daily moisture logs protects the full claim. If you’ve already started DIY work, stop and call before you go further: the situation may still be salvageable with the right equipment.
Wade’s Restoration answers calls live, 24/7. Wade himself answers his phone, and he can have water extraction running inside the hour for most Weehawken addresses. Speed matters because the first 24 hours are when the difference between drying and rebuilding gets decided. If it’s late at night and you’re standing in water, call (201) 740-2235. You’ll get a person, not a voicemail.
If the visible mold covers less than about 10 square feet and you’re healthy, a careful DIY cleaning with the right fungicide and proper protective gear can work. More than that, or any mold inside walls or after a water event, and you need professional mold remediation in Weehawken. Disturbing larger colonies without containment spreads spores through the home, and surface cleaning does not address the moisture problem that caused the mold in the first place. The mold will return.
At Wade’s Restoration, Wade deals with your adjuster directly. You’re never the one stuck relaying information between two sides, never the one wondering if the contractor and the carrier are telling you different stories. It’s part of how we work on every water, fire, and mold job. We hand you the documentation, and we talk to the adjuster ourselves so the claim moves forward without you in the middle.
The Bottom Line
The DIY-versus-professional decision in damage restoration is not about being handy or brave. It’s about matching the right tool and the right expertise to the specific situation in front of you. Small, clean, fast, and surface-level: grab the mop and save your money. Large, dirty, slow, or hidden: the clock is running, and professional equipment with daily documentation is the only thing that stops the damage from compounding. Weehawken’s old attached homes make the math even more unforgiving, because your wall is often your neighbor’s wall and the humidity works against you all summer. When in doubt, get an honest assessment. If it turns out you can handle it yourself, you’ll walk away with free advice and a clear head. If you can’t, you’ll be glad you didn’t wait.
Wade’s Restoration offers free estimates in Weehawken. Call (201) 740-2235 and ask for Wade. He’ll tell you straight what you’re dealing with and whether you need him or just a fan and some dry towels. No charge for the assessment, no trip charge inside the county, and a written scope before any work begins. The 90-Day Done Right Promise is stamped in writing on every water, fire, and mold restoration job we do. If it’s not done right, we make it right.
Written by Wade Ferris, Owner at Wade’s Restoration, serving Weehawken since 2007.